

Prerequisites: QGIS installed on your system.
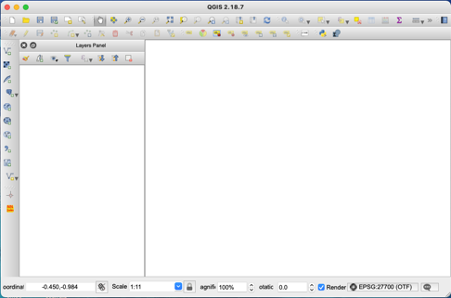
Step 1: Open QGIS. You should see something like this:
Step 2: Save your project file with a suitable name, and in a suitable location.
Project > Save As
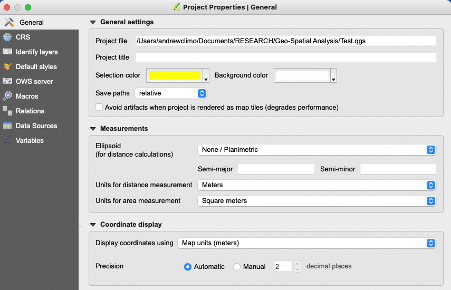
Step 3: Change any project properties as necessary, for example, measurement and display coordinates. In my case, initially metres.
Step 4: You will also need to select a coordinate reference system (CRS). Ideally this should be the one you intend to present your data, but may be influenced by the CRS used for your other data, such as coastal outlines, roads, landform and points such as places. In my case, I have selected WGS 84 / EPSG:3857. This is the World Geodetic System 84 standard. However, I have decided that because this map relates to the Britain, which is at a high latitude, it would make sense to have this projected in Mercator form. This is like having your map projected onto a cylinder in the same form as an atlas of the world, and prevents the map being distorted with parts being ever smaller as you go to higher latitudes.
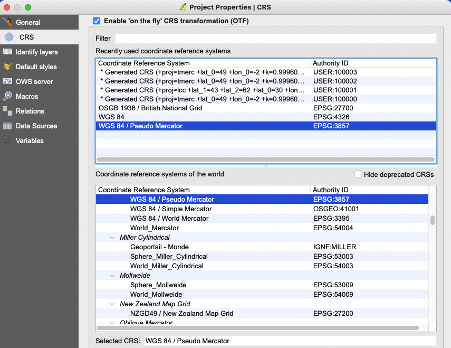
Crucially, ensure that On The Fly Transformation is ticked. In effect, this tells QGIS to transform imported data to match the project CRS.

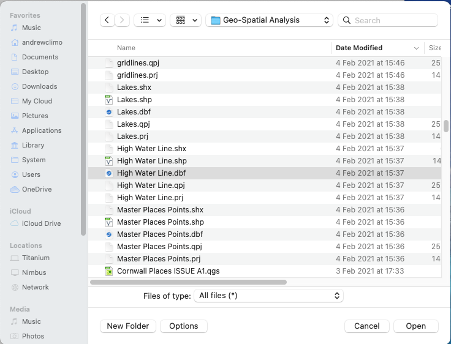
Step 4: Add a vector layer for your outline. In this example, the high water line. The OS boundary line dataset is an excellent source for this type of data, which must be downloaded and extracted first. It is the .shp files that you are interested in.
Layer > Add Layer > Add Vector Layer
Navigate to the folder where you extracted your .shp file, and Open it.
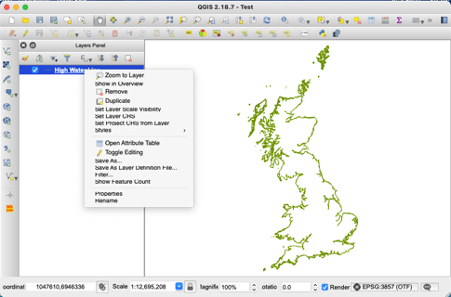
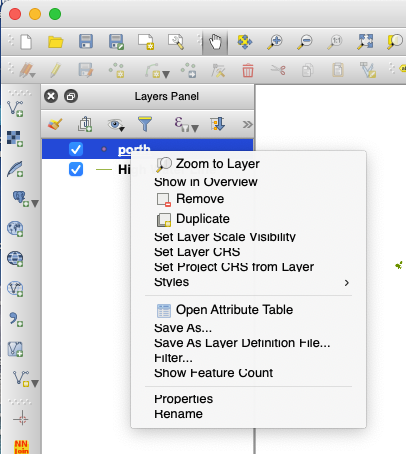
All being well, you should see your high water line displayed on the QGIS map canvas. Now right click on your layer in the layers panel.
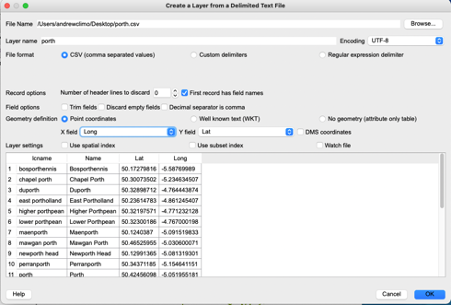
Step 5: Now add some point data. For example: some settlement data that has names, latitude and longitude coordinates. This is likely to be in the form of a .csv file. A list of Cornish ‘porth’-type names may be found here.
Layer > Add Layer > Add Delimited Text Layer
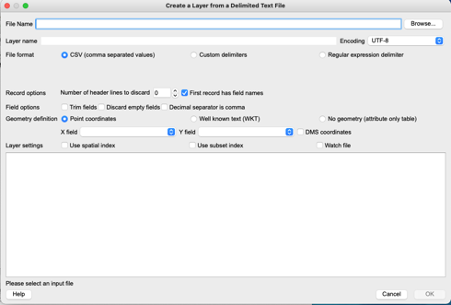
Browse to the location of your .csv file, and open it. You should see something like this. Note: You will need to set up your latitude (Y) and longitude (X) by selecting the relevant columns.
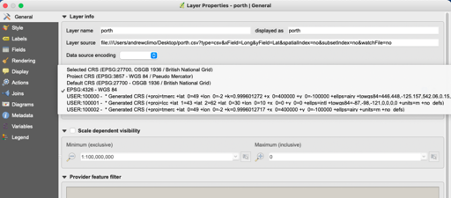
Nothing dispayed? That’s because QGIS still does not know how to project these data onto the canvas, so you may need to tell it. Right click on the porth layer showm in the Layers Panel, and click on Properties.
Now select the WGS84 CRS, and click on Apply, then OK.
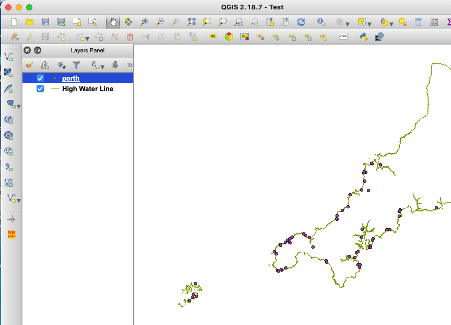
Success! The porth-type settlements are displayed on our map. Now zoom in, and inspect!
Now save your project. That’s it!! You have created your first QGIS map including a vector outline and csv point data.